 ImageHelperKit
Free · Private · No signup
Image Colour Inverter
Invert image colors online to make a negative of a photo or graphic. Add one image or a batch, compare the result, and download it. Your images stay on your device.
Drop images here, paste one, or choose files
JPG, PNG, or WebP · Up to 30 images
File size and format limits
Static images only. Maximum 25 MB or 25 megapixels per image; 100 MB or 60 megapixels per batch.
Your images stay on this device. Processing and downloads happen in your browser.
How it works
How to invert a photo
Add your image
Choose a file, drop it onto the page, or paste an image. You can add several files for a batch.
Choose a format and invert
Pick PNG, WebP, or JPG, then press Invert images. The original file stays untouched.
Compare and download
Move the slider to check the result. Download one image or save the whole batch as a ZIP.
What it can do
Check the result before you save it
A true colour negative
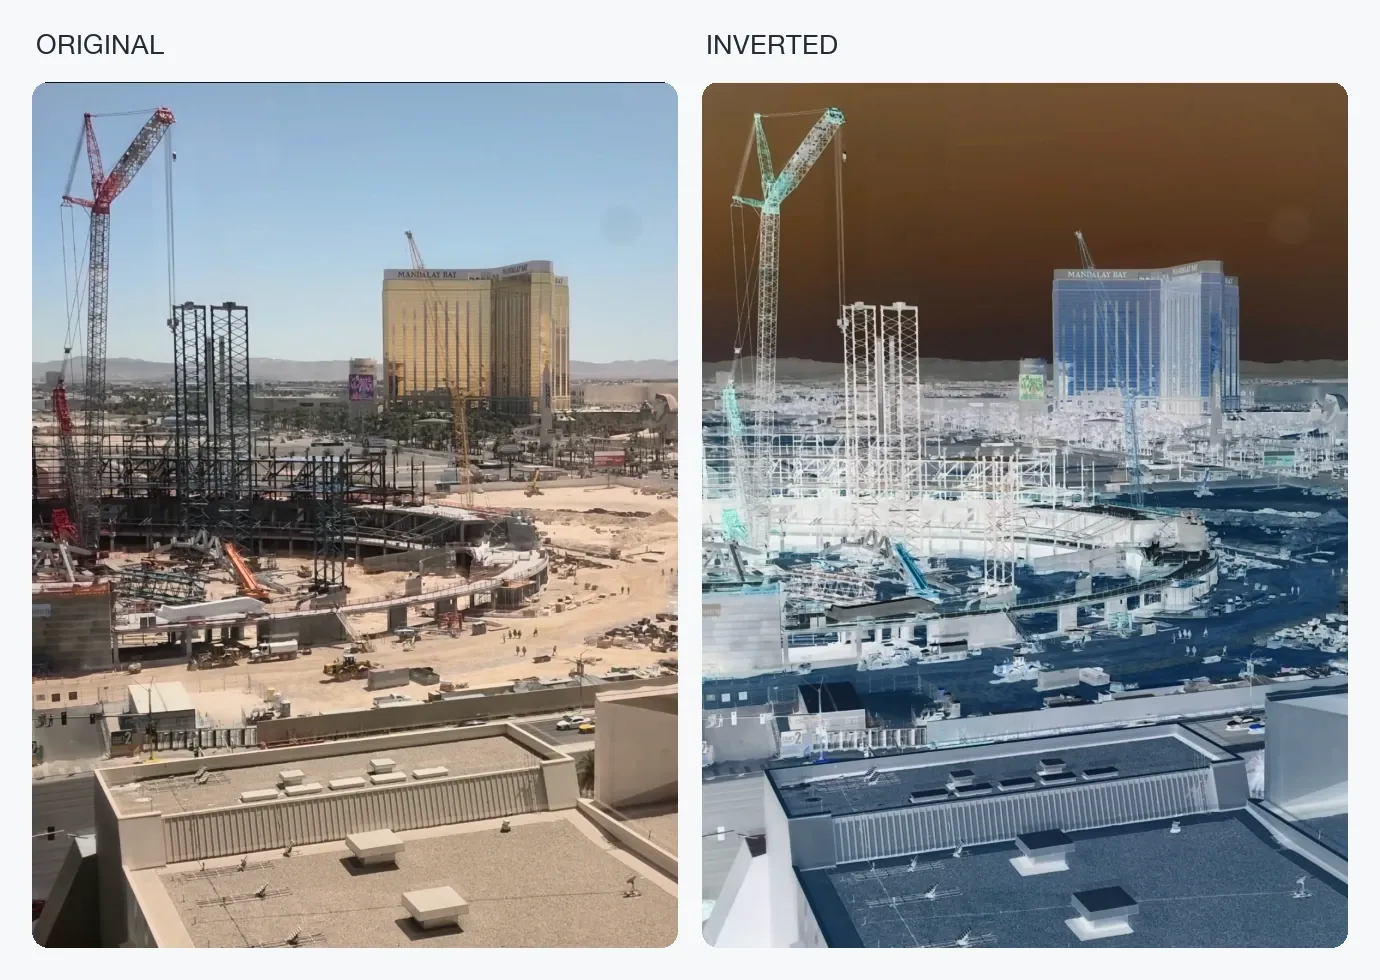
Black becomes white, red becomes cyan, and every other colour changes by the same rule.
Transparent backgrounds stay transparent
PNG and WebP output keep transparent and partly transparent areas as they are.
Check before you download
Move the slider to compare the original with the inverted result.
Invert a batch
Add several images and save them one by one, or download the whole batch as a ZIP.
Understand the result
What colour inversion changes
Last updated: September 28, 2026
For every pixel, the tool subtracts its red, green, and blue values from 255. White becomes black, black becomes white, red becomes cyan, and blue becomes yellow. It leaves transparency alone, so transparent PNG and WebP edges stay transparent. Running the tool twice reverses the colour change, though JPG compression can slightly alter the saved pixels. MDN's canvas guide shows the same pixel-by-pixel inversion method if you want to see how it works.
Light and dark
Original → inverted
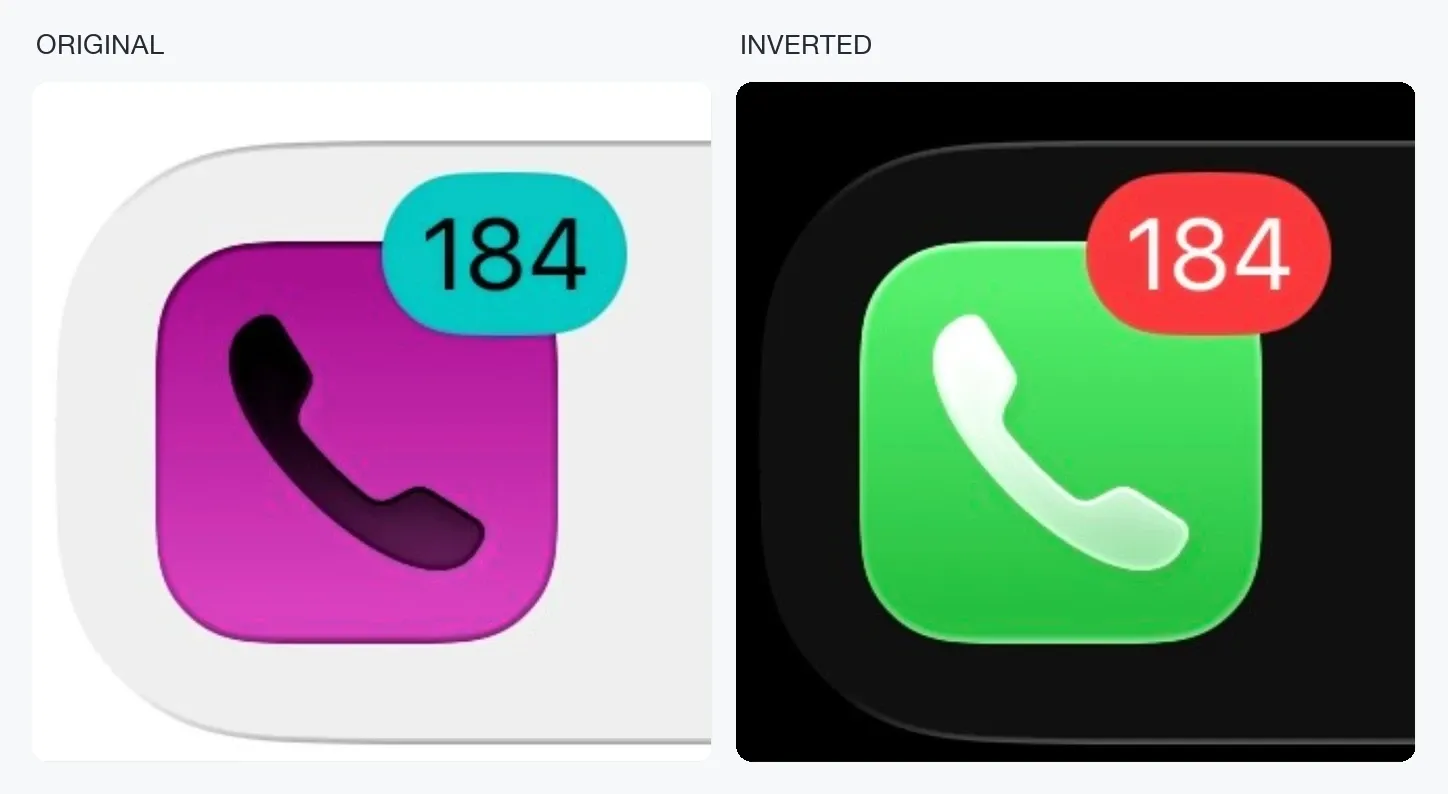
Red and cyan
Original → inverted
Blue and yellow
Original → inverted
Colour inversion versus mirroring
An image inverter changes colours. A mirror or flip tool changes left and right positions. This tool does not rotate or mirror your image.
Negative effect versus film correction
RGB inversion makes a digital negative effect. Scanned colour film often needs extra corrections for its orange mask, contrast, and exposure.
Where it helps
Photos, line art, and diagrams
Reverse a photo's colors to create a negative effect, or turn black marks on a white diagram into white marks on black. You can also check how a screenshot looks with its colours reversed. This is a rough visual check: a finished dark-mode design usually needs individual colour choices.
If you are working with a transparent icon, save it as PNG or WebP. JPG cannot keep transparent areas, so this tool fills them with white. MDN's image format guide explains the trade-offs between these formats. Check the result against the background where you plan to use it.
A scanned colour film negative needs more than a simple inversion because the film's orange mask also affects the colours. Adobe's guide to the Invert adjustment explains why an extra colour correction is needed.
Practical tips
Troubleshooting your inverted image
Image won’t load, text looks fuzzy, or a download button has disappeared? Find the matching issue below for what to try next.
Why do gray areas look almost unchanged?
This is normal for shades near middle gray. Inverting makes light areas dark and dark areas light, but a shade halfway between black and white stays almost the same. Move the comparison slider across a brighter or darker part of your image to see the difference. Inverting won’t sharpen a photo or bring back missing detail.
How can I keep text and line edges clear?
Choose PNG under Output format, then press Invert images again. PNG saves the result without the extra blur or blocky edges that JPG compression can introduce. If you need JPG or WebP, raise the Quality setting before trying again. Start with the clearest original you have: changing formats won’t fix text that was already blurry.
What if my image or batch is too large?
Check the error message to see which limit you’ve reached. Each image can be up to 25 MB and 25 megapixels. Megapixels measure width × height: a 6,000 × 5,000 image is 30 megapixels, even if its file size is small. Reduce its dimensions in an image editor, save a copy, and add that copy here.
For batches, stay within 30 images, 100 MB, and 60 megapixels in total. Remove some images and process them separately if needed. If the ZIP download exceeds 250 MB, download each result individually.
Why did the download controls disappear?
If you changed Output format or Quality, press Invert images again. The tool needs to create new files with those settings before you can download them. Your original images are still in the list, so you don’t need to add them again.
ImageHelperKit makes focused tools that process files on your device. Read who builds the tools, or tell us about a problem with an inverted image.
FAQ
Questions about the tool
How do I make a negative of a photo?
Choose a JPG, PNG, or WebP photo, select an output format, and press Invert images. Check the result with the comparison slider, then download it.
Does this flip or mirror the picture?
No. Inverting changes the colours of the pixels. It does not move them, flip the picture, or rotate it.
Which output format should I choose?
Choose PNG for a lossless result or a transparent graphic. WebP can also keep transparency and may make a smaller file. Choose JPG for a photo when a smaller file matters more; transparent areas become white.
Can I invert several images at once?
Yes. Choose or drop several files, pick a format, and press Invert images. You can download each result or save the batch as a ZIP.
Will it work on my iPhone or Android phone?
Yes, in a modern mobile browser. Choose a photo from your phone, invert it, and download the new file. This changes the saved image, not your phone’s screen colours.
Do my photos leave my device?
No. The tool reads, changes, and packages images in your browser. It does not send them to ImageHelperKit.
Will this fix a scanned colour film negative?
It can make a starting image, but it will not remove the orange film mask or correct exposure. A natural-looking photo usually needs more editing.
Can I use animated images or HEIC files?
No. The tool accepts static JPG, PNG, and WebP images. It does not process animation or HEIC files.