 ImageHelperKit
Angle Measurement Tool Online
Choose a photo, mark the vertex and one point on each line, and read the angle between them. No calibration is needed, and you can also start with a blank canvas. Free, private, and no signup required.
Drag & drop, click to upload, or paste an image
Nothing is uploaded — it stays on this device.
click the vertex → click each side → read the angle
Tip: click the vertex, then each side, to measure an angle. Drag any point afterward to adjust it, or use the keyboard — arrow keys move the crosshair, Enter places or picks up a point, Escape cancels.
Tip: hold Ctrl/Cmd while scrolling (or pinch) to zoom — use the hand tool to pan around while zoomed in.
Three clicks to an angle
How to measure the angle between two lines in a photo
- 1
Upload a photo, or start blank
Choose a PNG, JPEG, or WebP file, paste an image from your clipboard, take a photo with your camera, or skip the photo and use a blank canvas.
- 2
Click the vertex, then each side
Click the corner where the two lines meet, then place one point along the first line and one along the second.
- 3
Read the angle instantly
The degree value appears the moment you place the second side — no reference length or calibration required.
Why there's no calibration step
An angle is the same regardless of scale, so there is nothing to measure or enter first — just click and read the degrees. Length and area both change with how close or far the camera is, so those tools need a known reference length before they can report a real size. An angle doesn't — it's a comparison between two directions, not a distance.
Every measurement shows the smaller interior angle and the reflex angle that remains around the vertex (360° minus the interior angle).
Reference
Common angles worth checking
Turn on Snap 15° when you want to draw or check a known multiple of 15°. Each line locks to the nearest 15° direction. Leave snapping off when you need to measure an angle that falls between those increments.
Accuracy
How to get a more accurate result
The calculator is precise for the three points you place, but the angle in a real scene may be different from how it appears in a photo. Perspective and lens distortion, image clarity, and point placement can all affect the result.
Confirm safety-critical or fitted-part angles with a physical protractor or angle finder before cutting or building.
- →Photograph it straight on — keep the camera parallel to the flat surface the angle sits on.
- →Keep the whole angle in view — both sides fully visible and in focus.
- →Use long, clear lines — place each side point farther from the vertex so a small placement error has less effect.
- →Snap for known angles — turn on Snap 15° when checking 45° or 90°.
The math
What the tool actually computes
Last updated: September 5, 2026
This angle calculator finds the direction of each line from the shared vertex, then compares those directions. In geometry, the two lines act like the two rays that form an angle, with your first point as their shared vertex. The tool reports the smaller difference, from 0° to 180°, as the interior angle. The reflex angle is the rest of the full turn: 360° minus the interior angle.
The angle shown on the image is rounded to one decimal place. CSV exports use two decimal places. Extra decimal places describe the points more precisely; they do not correct perspective or an unclear edge in the original photo.
Everything runs locally in your browser. When you're done, export the angle list as CSV or download a copy of the image with your angles drawn on it. Read how ImageHelperKit is built around simple, private image tools.
See it in action
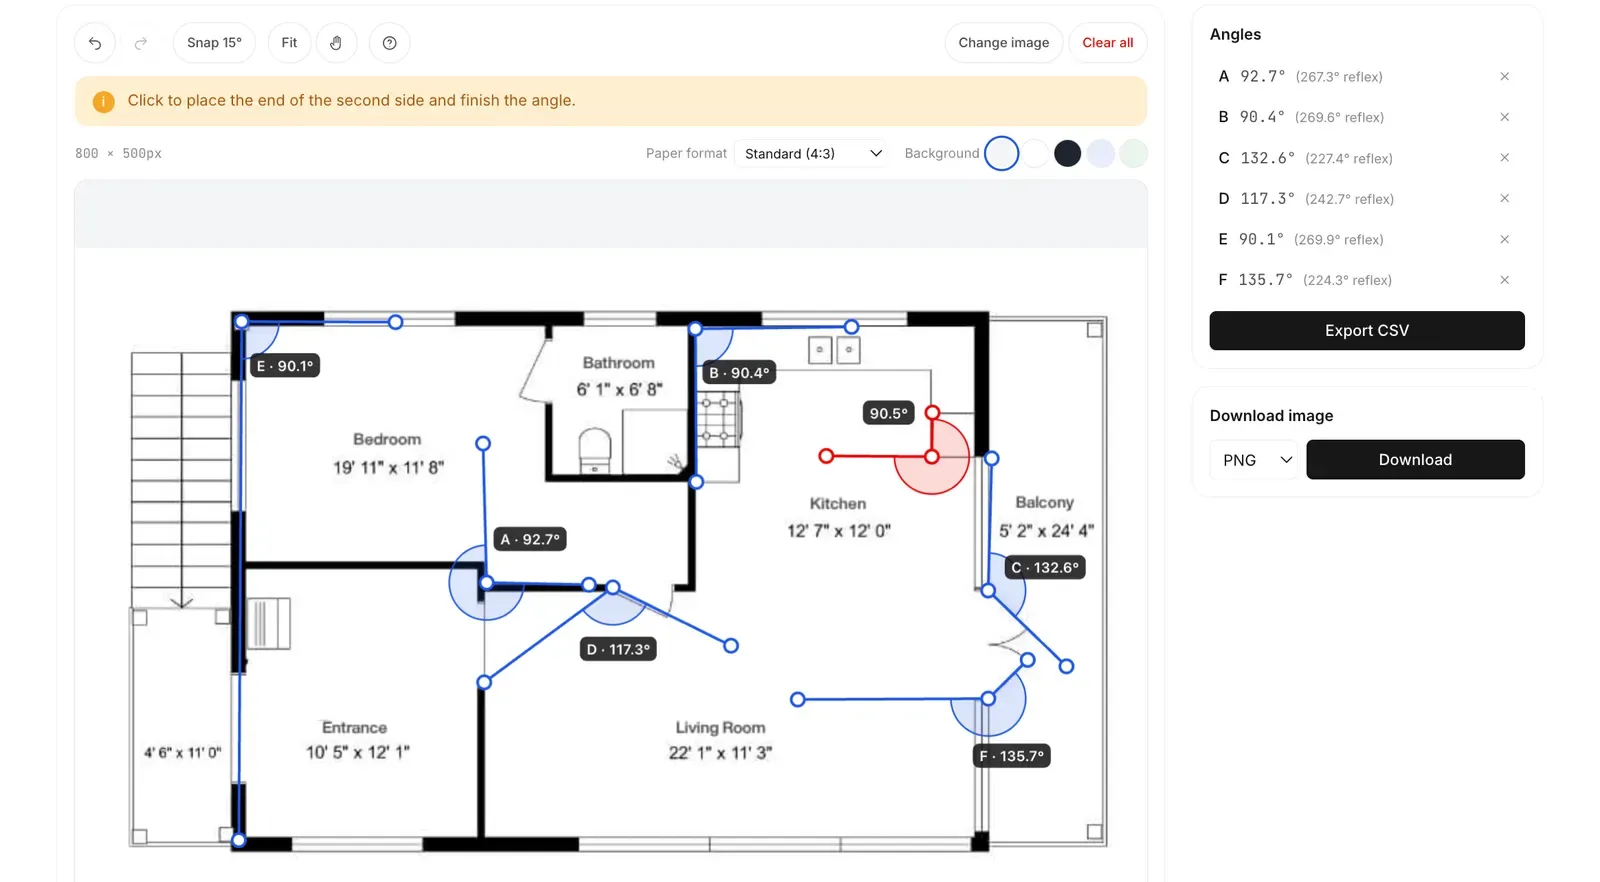
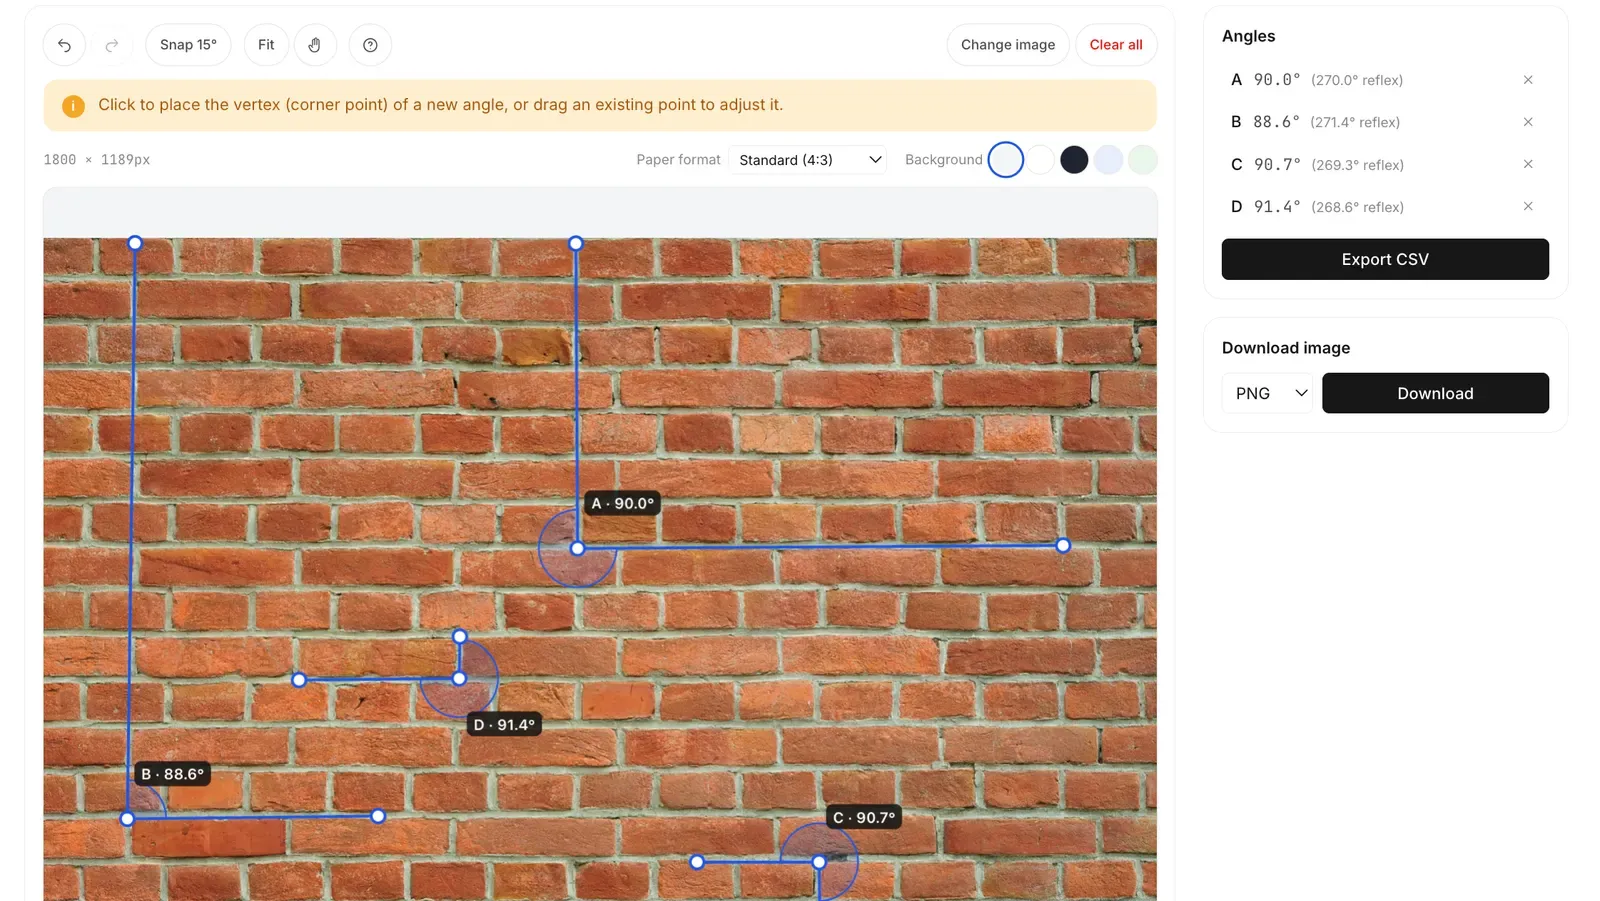
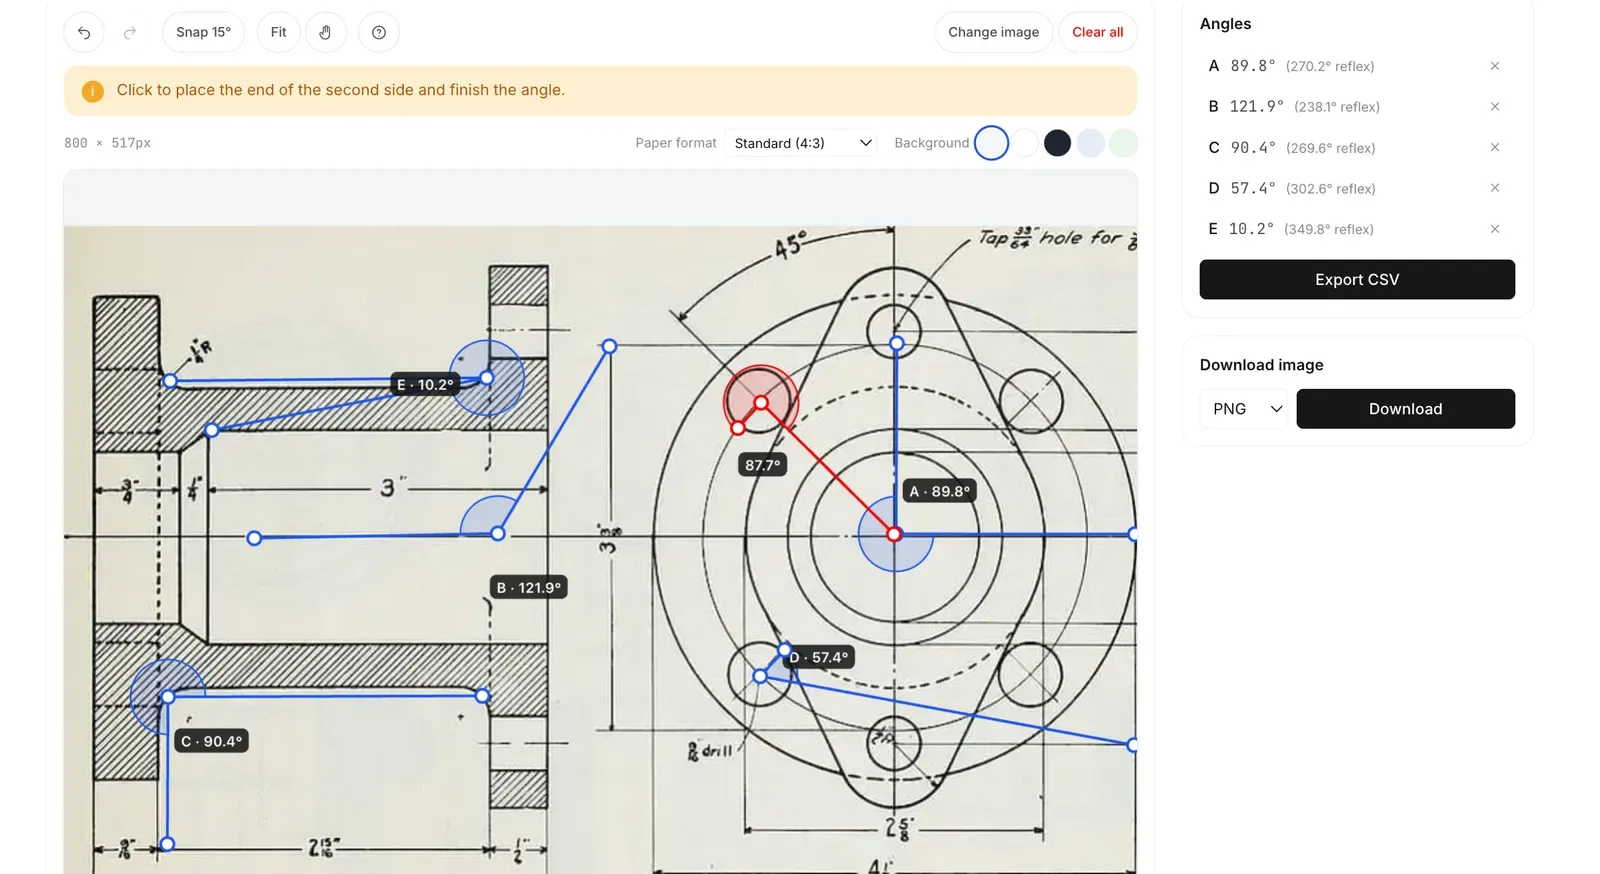
Real angles, measured from real photos
Common uses
When measuring an angle from a photo helps
Woodworking & carpentry
Estimate a miter or bevel angle from a clear photo, then confirm it with a physical angle finder before cutting.
DIY & home improvement
Get an approximate angle for a roof slope, stair, or frame from a photo.
Students & geometry
Measure angles in textbook diagrams, worksheets, or your own drawings.
Sports & movement
Compare joint angles in exercise photos for your own reference. These measurements are not a clinical assessment.
FAQ
Common questions.
How do I measure an angle in a photo?
Upload the photo, click the vertex — the corner point where the angle meets — then click the end of the first side and the end of the second side. The angle appears immediately.
Do I need a reference length like the image measurement tool?
No. An angle does not change when an image is uniformly resized or zoomed, so the tool does not need a known length. It calculates the angle from the three points you place.
Can I measure an angle without uploading a photo?
Yes. Choose "Start blank" instead, and you get a plain canvas — click the vertex and two sides the same way, and the degree value appears instantly. Useful for sketching out or checking an angle when you don’t have a reference photo.
Is this the same as an online protractor?
They overlap, but they are not quite the same. An online protractor usually places a protractor scale over the screen. This tool is designed around an existing photo: choose the image, mark the vertex and the two lines, and read the angle those points define. The blank canvas is an optional way to check a simple drawing.
What is the difference between the angle and the reflex angle?
The angle is the one formed on the side where you drew it, always between 0° and 180°. The reflex angle is what remains going the other way around the vertex, and always equals 360° minus the angle.
How accurate is the angle measurement tool?
The calculation is precise for the three points you choose, but a measurement from a real photo is still an estimate. Accuracy depends on point placement, image clarity, camera angle, perspective, and lens distortion. A straight-on photo with long, clear lines is easier to measure consistently.
Is my photo uploaded to a server?
No. The angle measurer processes everything in your browser using the Canvas API. Your photo never leaves your device.
Can I measure more than one angle on the same image?
Yes. Finish one angle, then click again to start the next. Every angle you place stays on the image and in the list until you remove it or clear all.
Can I use the tool on a phone?
Yes. Tap to place each point, and drag to adjust. Camera capture works directly in the browser where your device supports it.
Can I export or download my angle measurements?
Yes. Export the angle list as a CSV file, or download the image with the angles drawn on it as PNG, JPG, or WebP.
Still getting a result you did not expect? Describe the angle and the steps you took so we can investigate without needing your photo.